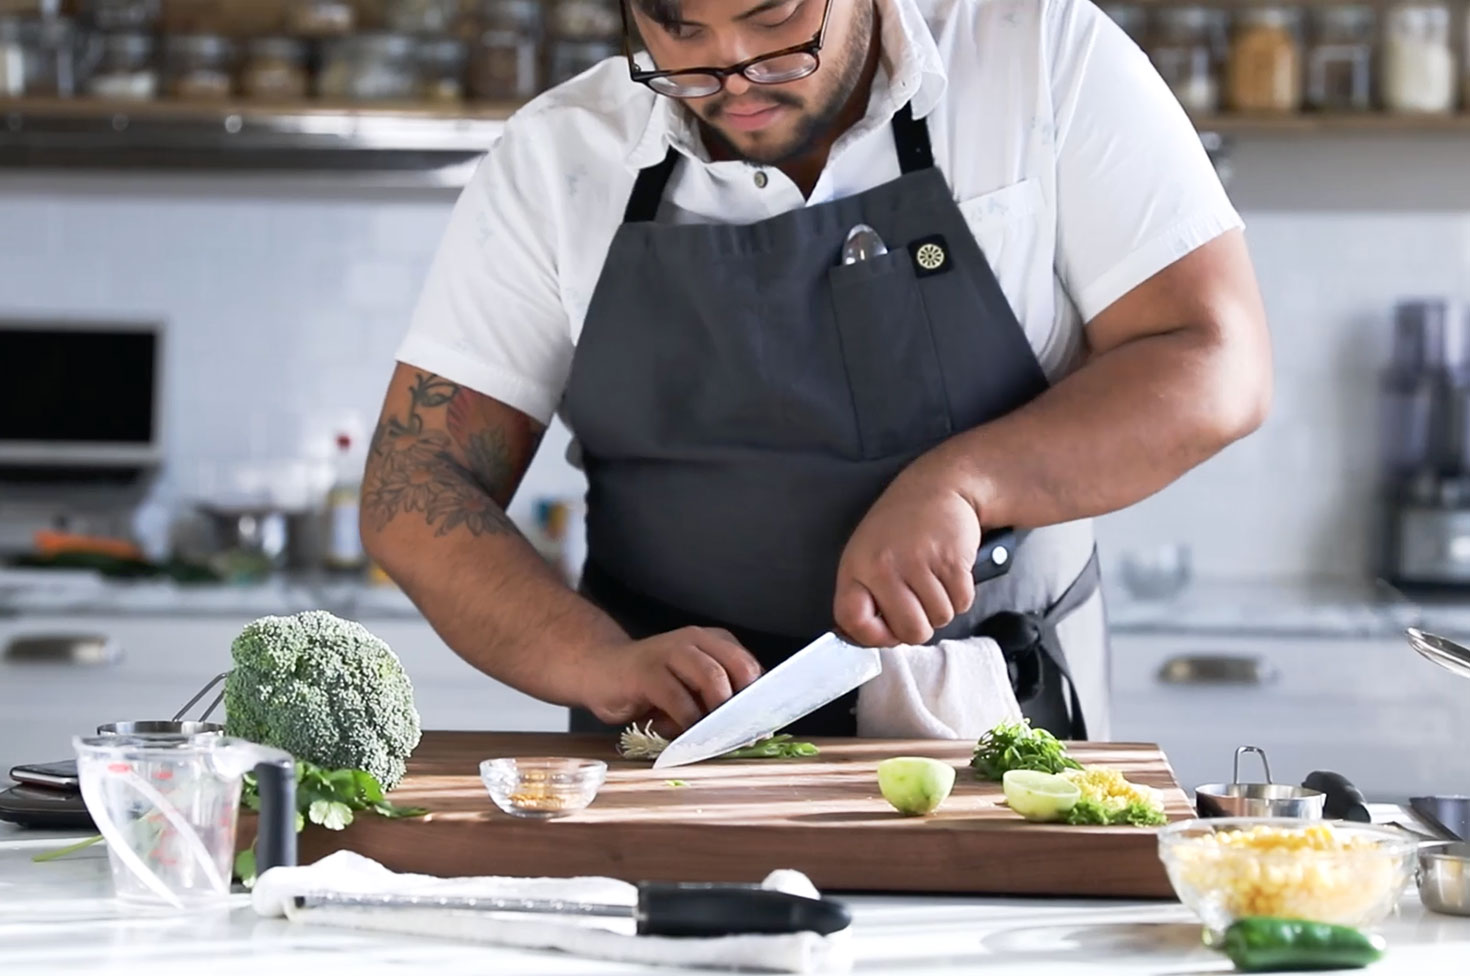
How to Slice, Dice & Make Everything Nice
We use a lot of different terms to describe how we cut things in the kitchen. So we get it, it can be confusing. For cooks at every level, it’s worth knowing the difference between slicing, dicing and mincing (which doesn’t rhyme, unfortunately). The way you cut impacts how flavors develop and your final product. If you’re anything like me, knowing your knife cuts makes each step of kitchen prep a fun puzzle to put together, rather than a frustrating obstacle to getting dinner on the table.
When preparing an ingredient with a knife, safety should always be top-of-mind. A lot of ingredients are irregular in shape, so either halve or slice off a side of the ingredient to create a flat, stable surface to rest on. Hold the ingredient firmly with your nondominant hand, curling your fingers into a claw and tucking your fingertips behind your knuckles. Your dominant hand should be pinching the knife between your thumb and pointer fingers right above the hilt, where the handle of the knife meets the blade. By holding the knife above the handle, you have better control of the knife and it becomes an extension of your hand.
Chopping
Chopping is cutting something into smaller pieces. It’s quintessential knife skill that is great for breaking down basic ingredients like onions or carrots.
To chop, lift the blade off the cutting board with the flat side of your blade gently pressed against your knuckles. Press downward in a smooth, even stroke, shifting the knife forward slightly as you go.
To roughly chop, simply run through a couple cycles of chopping until your pieces are relatively uniform in size. Evenly sized pieces will cook evenly.
Dicing
Dicing is exactly what you think it is: cutting ingredients to produce even sizes and shapes that resemble cubes.
To dice, make vertical cuts across the vegetable with an even amount of space between each cut. Then rotate the ingredient 90° and make perpendicular cuts (we do use geometry in cooking, reluctant high schoolers) using the same even, up-and-down stroke. The space between your cuts should, again, be evenly spaced to create cubes. Lift the blade back up and repeat.
Slicing
Slicing is great for making thin pieces that will cook evenly and, often, quickly. They can also be sliced diagonally (in chef speak, on the bias) to create angled slices with more surface area. Bias cuts make each piece look bigger on the plate.
To slice, rest the tip of the blade on the cutting board with your knife handle angled upwards. Gently press the flat side of the knife against the knuckles of your hand that’s holding the food. Keeping the tip of the blade in contact with the cutting board, pull the knife backwards towards you, until the blade slices into the food.
Once your blade cuts through most of the ingredient, press downward on the handle and slide the blade forward. Repeat as you move down the ingredient. You should be using a circular, locomotive motion and keeping the blade tip against the board at all times.
Mincing
You’ll often see us use this term when we’re talking about aromatics like garlic and shallot or herbs like parsley or rosemary. This creates super-small pieces that are meant to flavor a dish without lending texture to each bite. Mincing ensures that the ingredient has the most surface area possible, so it cooks quickly or releases its flavor most into sauces or vinaigrettes.
To mince, start by either roughly chopping or slice your ingredients. Then gather them into a pile on your cutting board.
As with slicing, rest the tip of your blade on the cutting board. This time, rest it on one side of the chopped pile with your knife handle angled upwards towards you. Using your nondominant hand, rest your fingers on the knife toward the tip to anchor it in place.
Rock the knife handle up and down, moving the handle toward and away from yourself slightly with each cut. Collect the ingredients on your board and occasionally move the pieces from the bottom of the pile to the top, until they are all finely minced to the same size.
If you’re unsure what cut we’re looking for when you’re cooking a Purple Carrot recipe, take a look at the video provided with each step. It should provide a clue as to which technique will get your ingredients in the same shape.